3.3.1. SuperNIC Installation
This section lists the requirements and provides instructions for installing the CN5000 Omni-Path SuperNIC Adapter. The term Adapter is used in this document to indicate either or both the physical adapter and/or the software and firmware that execute on it to deliver the functionality of the SuperNIC Adapter.
Note
Per Federal Communications Commission (FCC):
“This device complies with part 15 of the Federal Communications Commission (FCC) Rules. Operation is subject to the following two conditions: (1) This device may not cause harmful interference, and (2) this device must accept any interference received, including interference that may cause undesired operations.”
3.3.1.1. Unpacking the SuperNIC
Before unpacking, check for any obvious damage to the packaging. If any damage to the packaging or the contents is found, notify the reseller immediately. Never attempt to install or use a damaged SuperNIC.
 | Assemblies used in the adapter and switches are ESD sensitive. Observe ESD handling procedures when handling the adapter or any assembly used in the switch chassis. |
3.3.1.1.1. Verify the SuperNIC Package Contents
Ensure the package contents for the SuperNIC match the packing list.
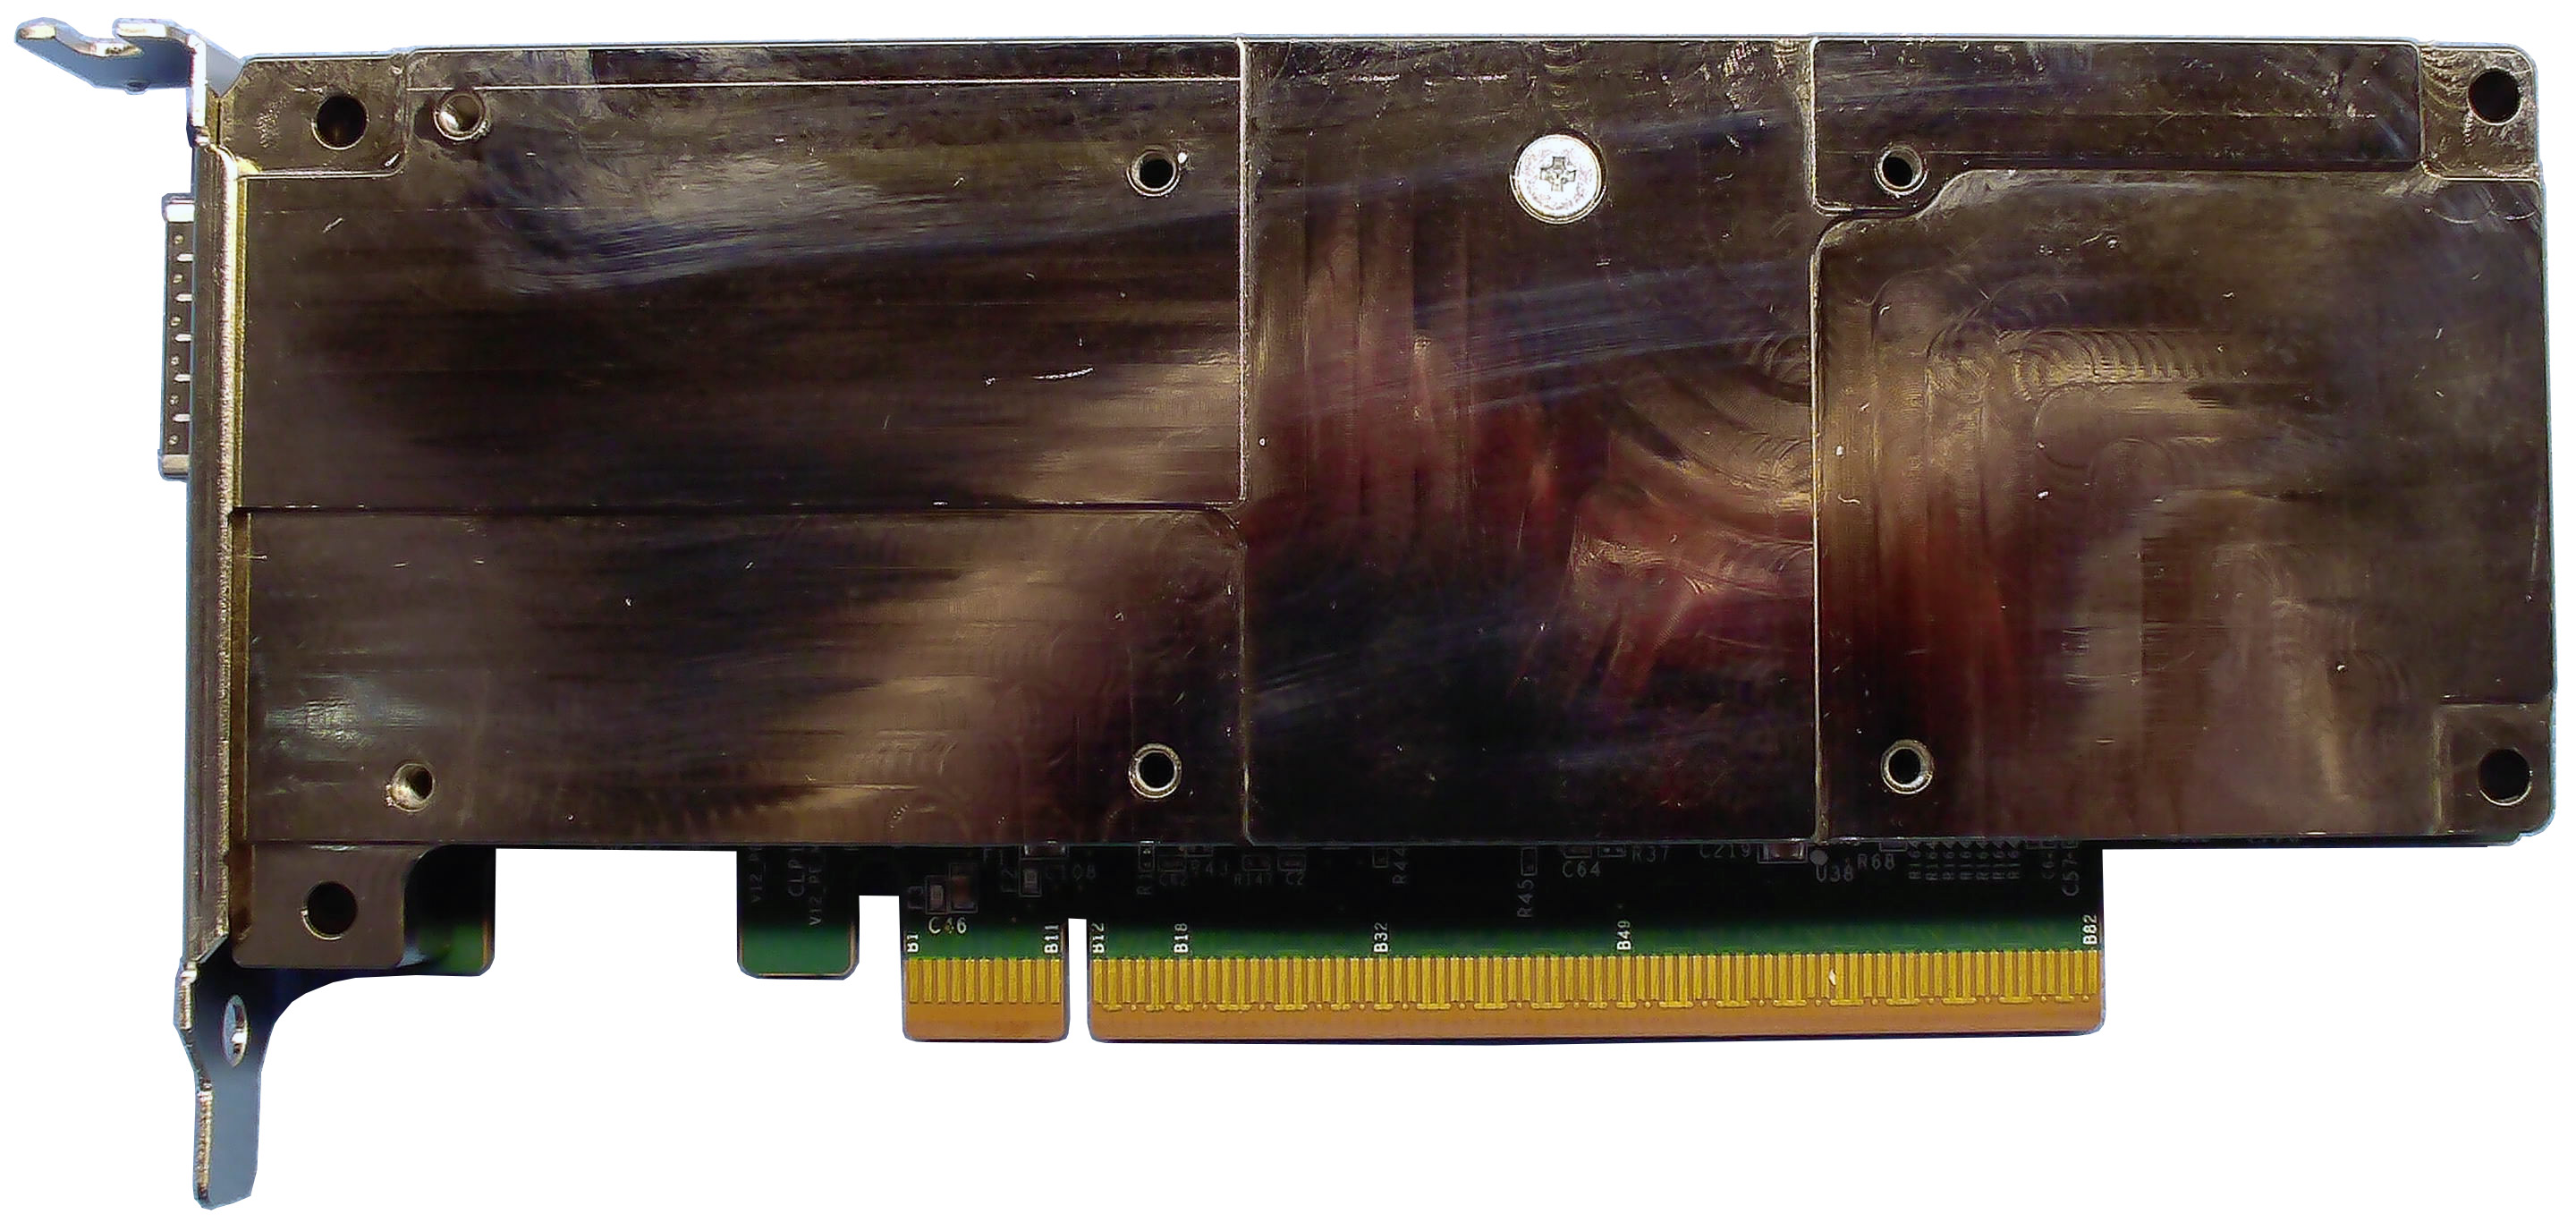
3.3.1.1.2. Visually Inspect the SuperNIC
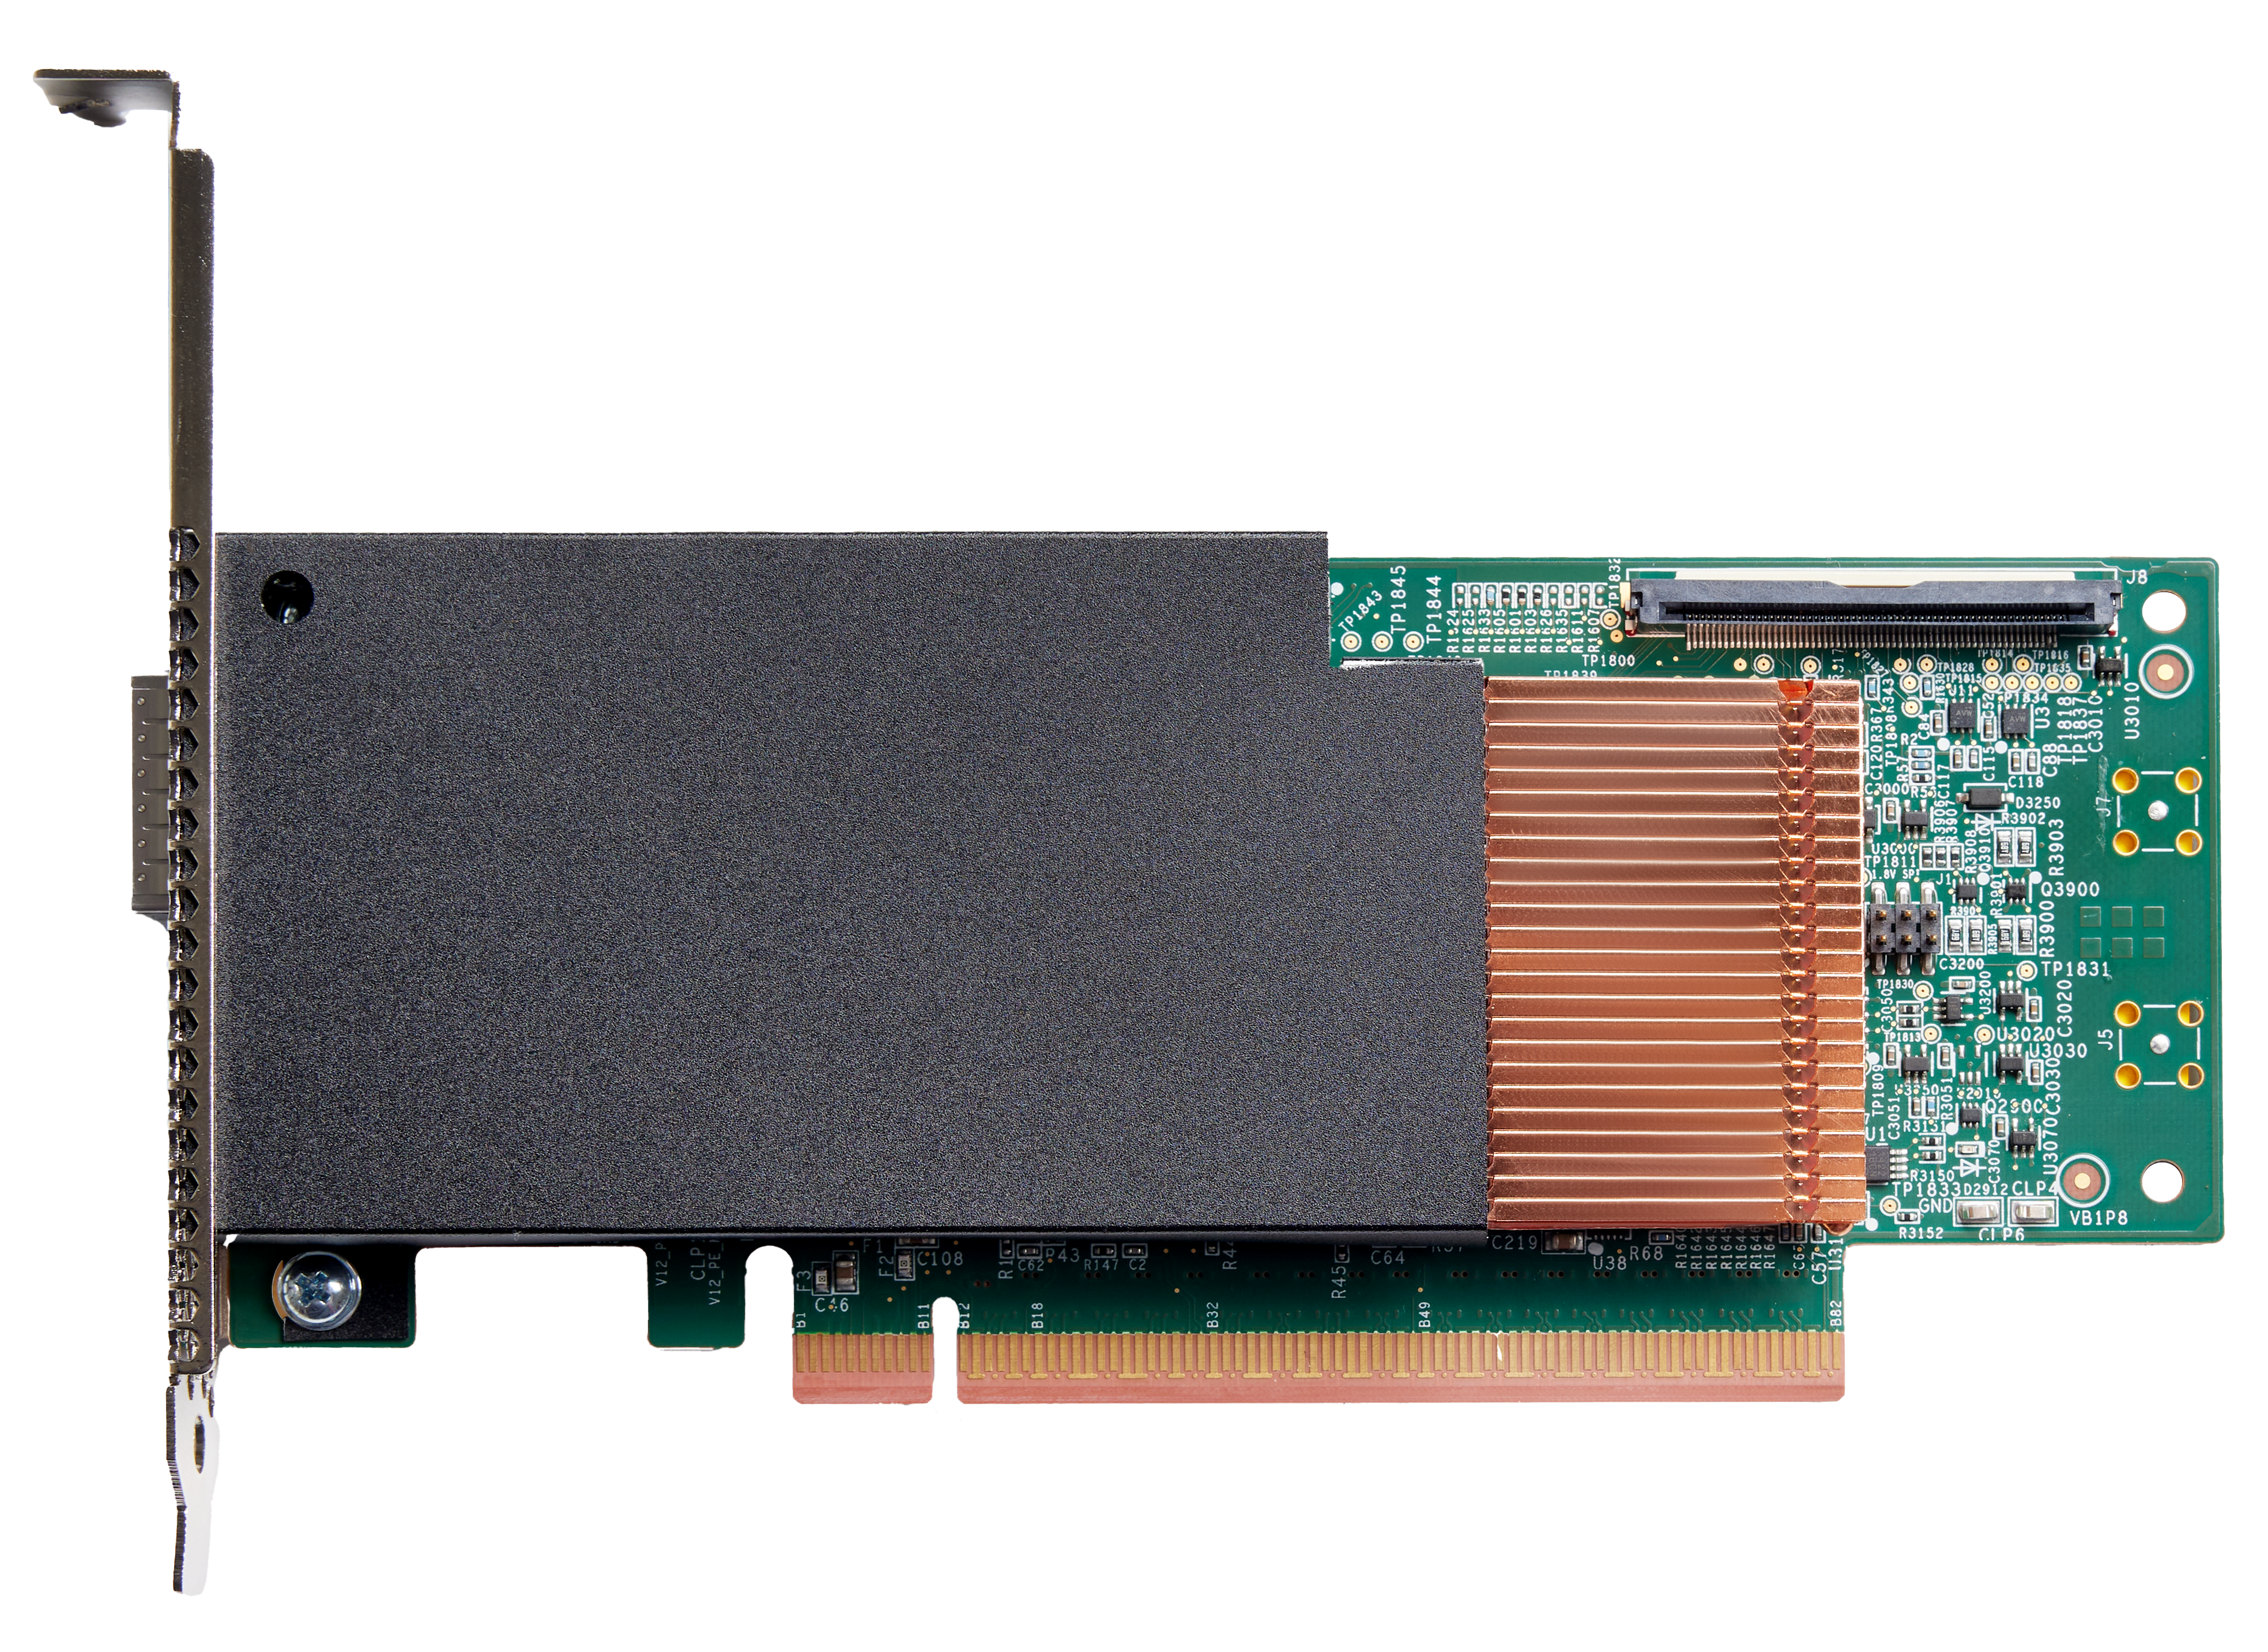
Single or Dual Port: Air-Cooled With Air Baffle
Single Port: Conduction-Cooled
Use an ESD strap to ground yourself before removing the SuperNIC from the plastic clamshell container.
Grasp the SuperNIC by its faceplate and remove the SuperNIC from the plastic clamshell container.
Caution
Handle the SuperNIC only by its edges or the faceplate. Do not allow the SuperNIC or any of its components to touch any metal parts.
Check the card for visual damage and then return the SuperNIC to its plastic clamshell container until it is ready to install. If damage is noted or suspected, do not install the SuperNIC. Contact Cornelis Technical Support or your reseller for assistance.
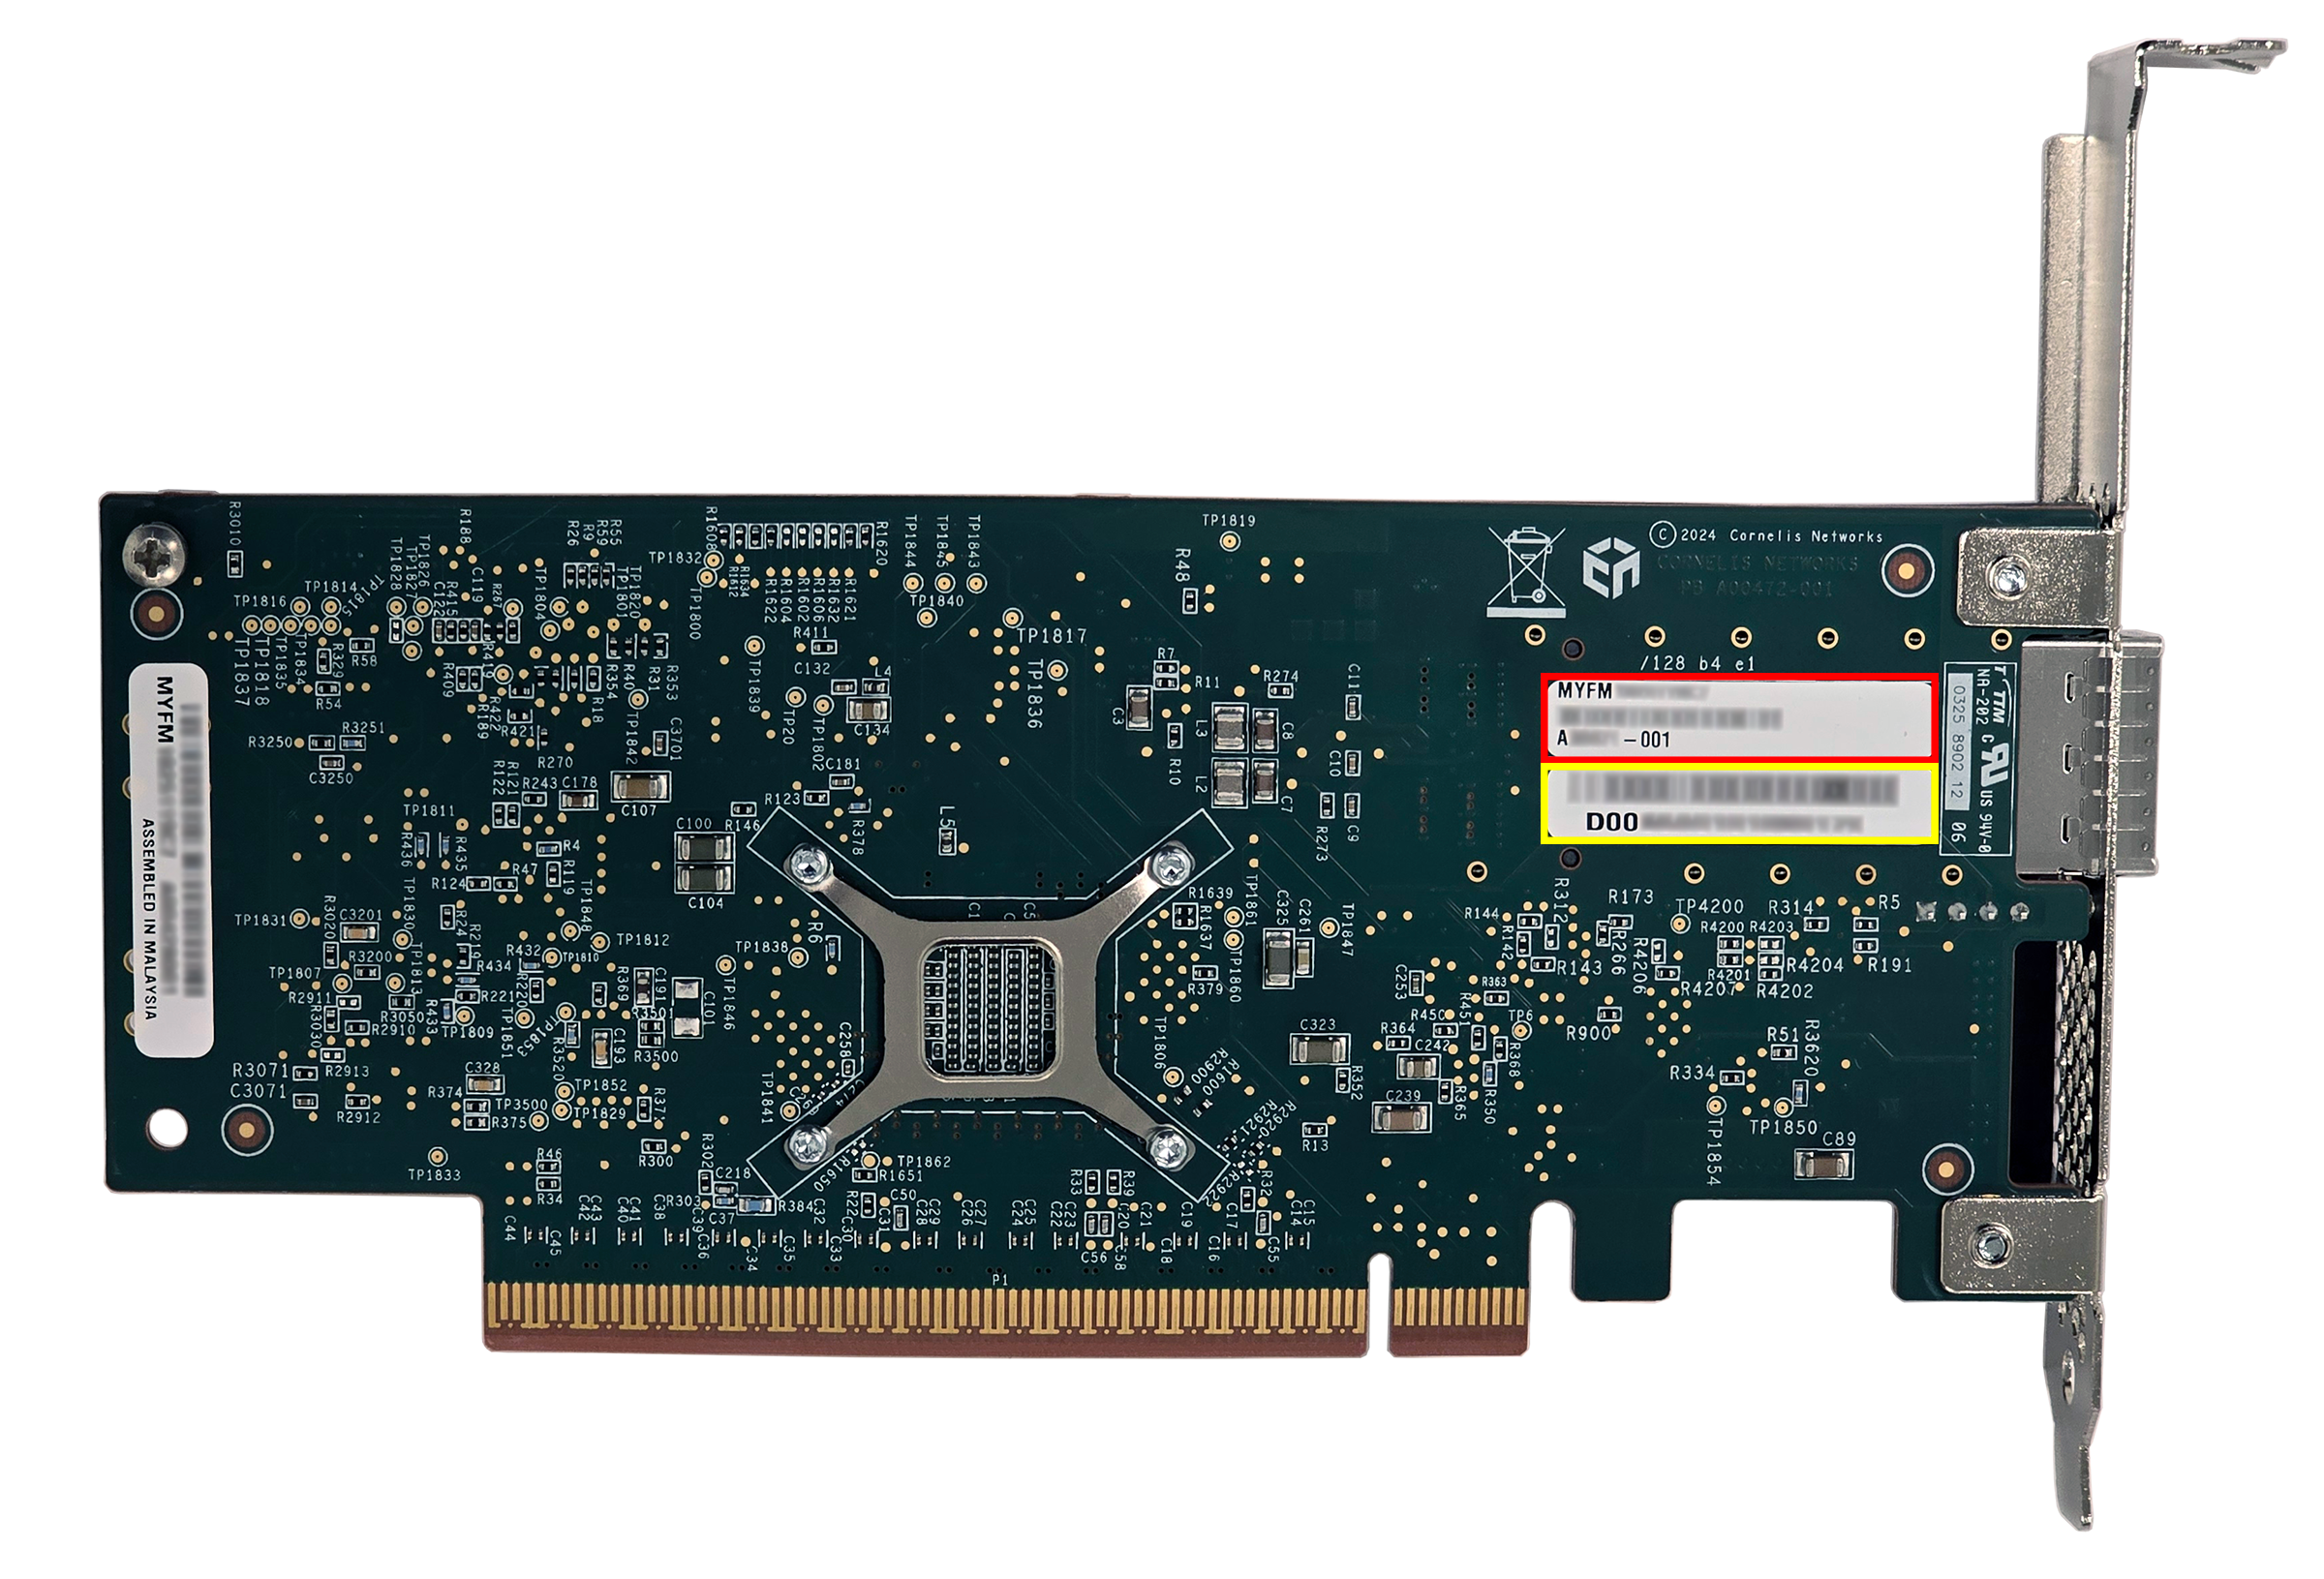
3.3.1.1.3. SuperNIC Manufacturing Information
There are two important labels on the reverse side of the SuperNIC card (shown in the following figure). The numbers in the red box are the serial number of the SuperNIC card followed by its part number. The yellow box shows the GUID of the SuperNIC.
3.3.1.2. Installing the SuperNIC
Refer to the motherboard or server manual for instructions on installing the SuperNIC.
Tip
A Phillips #0 screwdriver may be needed to remove the preinstalled bracket.
If configuring for multi-rail applications, refer to the CN5000 Topologies and Routing Guide, Multi-Rail Topologies.
Note
Ensure the SuperNIC is installed in a PCIe 5.0 x16 slot and that the slot has been configured for such in the BIOS.
Ensure the slot is only used by a single CPU and is not a shared slot.
3.3.1.3. Cabling the SuperNIC to the Switch
The cable lengths supported for the CN5000 Switch to SuperNIC case are summarized below.
DAC: up to 2.5 m
ACC: up to 5.0 m
AOC: up to 100.0 m
Contact Cornelis Technical Support for details on supported cable length on a per port basis.
To install the cables to the switch:
Route the cable to the switch following the recommendations in Cabling Requirements.
Ensure the protector plugs (if any) are removed from the cable connector ends.
Note
Depending on how the adapter was installed in the server, the cable may need to be inserted upside down.
Different vendor cables might have different latch mechanisms. Determine if the cable has a spring-loaded latch mechanism.
If the cable is spring-loaded, push until the cable snaps into place. A short "click" is heard from the cable connector when it snaps in. To remove the cable, grasp the metal shell and pull on the plastic latch to release the cable.
If the cable latch mechanism is not spring-loaded, push on the metal case, then push the plastic latch to lock the cable in place.
Plug one end of the cable into the SuperNIC and the other end into a switch.