7.3.1.2. Offline Maintenance
This section describes the hardware maintenance that must be performed when the Omni-Path hardware is offline.
7.3.1.2.1. DCS Chassis Replacement
7.3.1.2.1.1. Prerequisites
Ensure two or more people are available to lift the DCS when required.
Ensure that all cables are labeled properly prior to removal.
7.3.1.2.1.2. Procedure
Power down the chassis using power button.
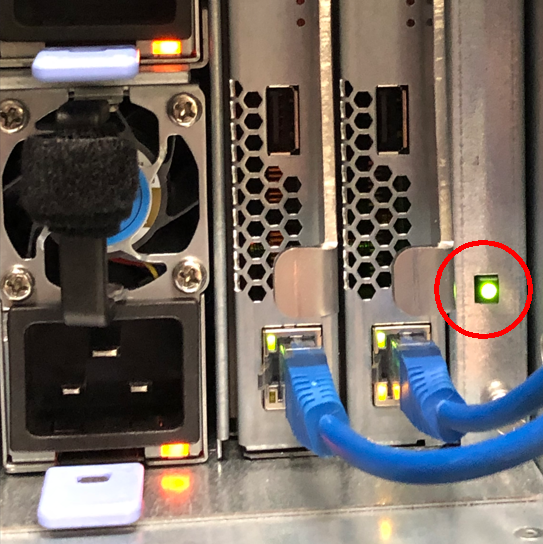
Disconnect all power and Ethernet wires.
Remove all ISL cables.
Remove all modules: leafs, spines, power supplies, and fans.
Note
Removing the modules reduces the weight that will make replacement easier.
Unscrew the chassis from the rails/racks.
Slide the chassis onto the lift platform.
Replace the chassis and insert the modules and power cables.
Check the firmware and update if needed.
Plug in all ISLs.
7.3.1.2.2. Switch Replacement
7.3.1.2.2.1. Prerequisites
Ensure that all cables are labeled properly prior to removal.
7.3.1.2.2.2. Procedure
Disconnect the power and Ethernet cables.
Remove all cables.
Unscrew the CN5000 Switch from the rails/racks.
Slide the CN5000 Switch onto a lab cart.
Replace CN5000 Switch.
Insert the cables: Ethernet, Omni-Path, and power.
Check the firmware and update as needed.
7.3.1.2.3. Remove a Liquid-Cooled Switch
7.3.1.2.3.1. Prerequisites
Ensure the Switch has been shut down through the cluster management framework. Allow the Switch to reach a safe internal temperature (passive cool-down).
7.3.1.2.3.2. Procedure
Isolate and depressurize the cooling loop at the node.
Close or isolate the branch of the cooling manifold feeding the node (if supported by rack/CDU design).
Relieve local hydrostatic pressure at the quick-disconnect interface per service instructions.
Note
Ensure hoses are safely supported to avoid strain on the QDs.
Disconnect the quick-disconnect couplers by depressing the quick-disconnect release mechanism and separate the male/female halves. Switch-side fittings will automatically seal when disconnected.
To drain the Switch, remove both quick-disconnects from the switch. Alternatively, attach a hose to the quick-disconnects where the hose is open to the atmosphere.
Remove the hose(s) if necessary, and cap all liquid ports.
Remove the Switch (refer to Switch Replacement).
Store or prepare the Switch for transport per Cornelis packaging requirements.
Note
Package the switch to prevent physical damage. Insure for full replacement value.
7.3.1.2.4. SuperNIC Replacement
Power down the server.
Remove all cables.
Slide the server out.
Remove the cover from the server.
Remove the PCIe-Riser adapter from the PCIe slot, if applicable.
Remove the old SuperNIC from the slot.
Insert the new SuperNIC.
Reinsert the PCIe Riser adapter into PCIe slot.
Replace the cover on the server.
Push the server back into the rack.
Reinsert all cables.
Power on the server.